
Ask most beginners to draw a street and they start with the nearest shop, then the one after that, then wonder why the whole scene looks as if it's tipping sideways. One-point perspective solves that in about ten minutes of drawing. The rest of the session is just shopfronts.
You don't need a mathematical brain for this. You need one dot, a ruler you'll hardly use, and the discipline to keep your guide lines faint until you're sure of them. Here's how to turn a flat sheet of paper into a high street you could walk down.
What One-Point Perspective Actually Means
Imagine standing in the middle of a road, looking straight ahead. That's the view you're drawing. Your eye sits at a certain height — roughly 1.5 to 1.6 metres off the ground for most adults — and everything in the scene at exactly that height lines up along a single horizontal band on your paper. That band is the horizon line. In drawing, the horizon line and your eye level are the same thing, which is why it moves up and down the page depending on whether you're standing, sitting, or sketching from a first-floor window.
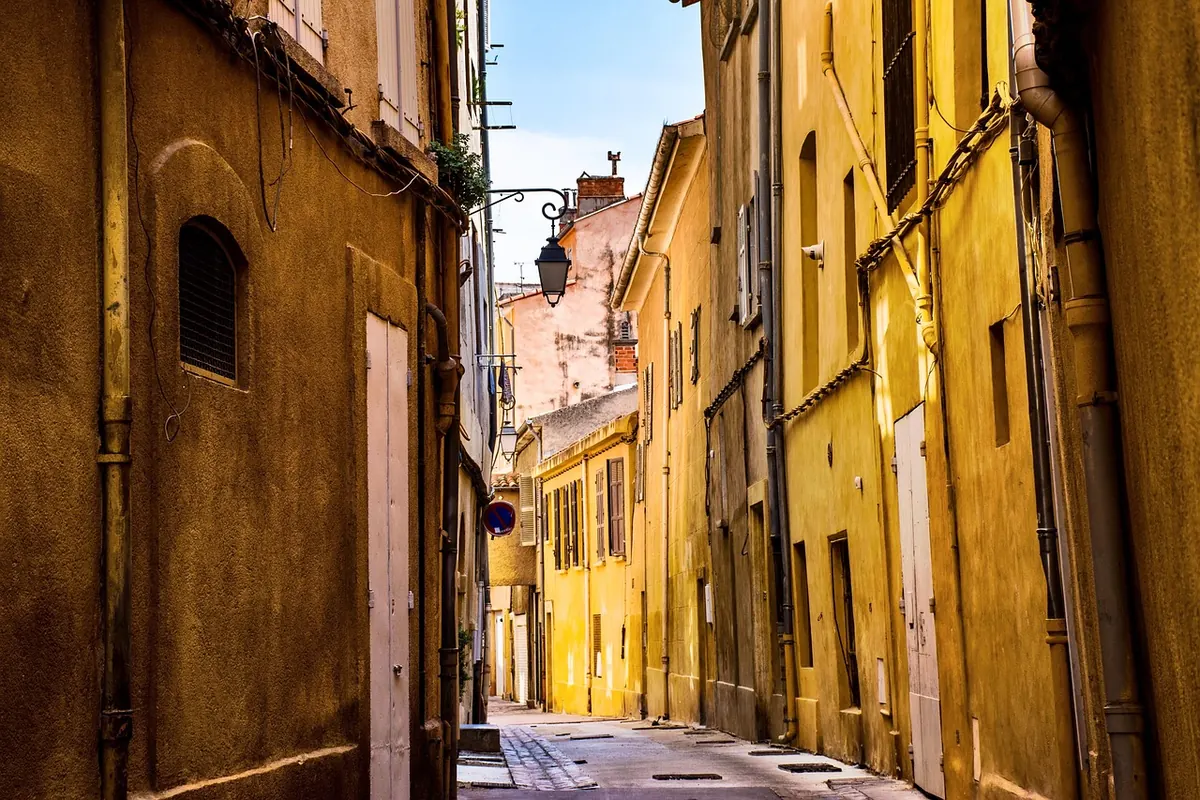
Put a dot anywhere on that line and you have a vanishing point. Every edge in the scene that runs away from you — kerbs, gutter, rooflines, the top and bottom edges of windows, the line where wall meets pavement — points at that dot. Lines running across your view rather than away from it stay horizontal. Verticals stay vertical. That's the entire system.
One-point perspective is what you get when you face squarely down a street. Turn your head thirty degrees and you need two vanishing points, which is a different lesson for a different afternoon.
Set Up the Paper Before You Draw Anything
Work on A4 or larger, landscape, with an HB pencil and a light touch. Start with the horizon line. Placing it about a third of the way down gives you plenty of sky and tall buildings; two-thirds down gives you a wide road and a low viewpoint, which suits a busy street with traffic. Neither is wrong.
Now put the vanishing point on it. Dead centre is the easiest to draw and the dullest to look at. Shift it a little left or right — a third of the way in works well — and plan to hide it later behind a lamp post, a hanging sign or the corner of a building. Nothing looks more like a beginner's drawing than an obvious dot with forty lines radiating from it.
Then draw three or four very faint guide lines from the vanishing point down to the bottom edge of the paper. These become your road edges and kerb lines. Faint means faint: you should be able to erase them without leaving a grey scar.
Building the Street, Shape by Shape
Work from the front of the picture backwards, and keep guide lines lighter than final lines.
- Road and kerbs. Rule two lines from the vanishing point down and outwards to the bottom edge, spreading as they come. Those are your two kerbs. Add a second pair just outside them for the pavement edge and the dropped kerb at a crossing.
- Ground band. Draw a horizontal line across the bottom for the near pavement, then mark the pavement width on both sides. Pavements are usually narrower than beginners expect.
- Block in the nearest shopfronts. Draw them as flat rectangles facing you, left and right, sitting on the pavement line. Draw them as if they were cut from card.
- Take them back. From the top and bottom corners of each rectangle, draw faint lines to the vanishing point. Those lines give you the fascia sign, the window ledge, the sill and the plinth in one go, for every building behind.
- Step back through the row. Each building further along sits between two of those guide lines, so it's automatically the right height. Draw its front edge as a vertical, then follow the same lines back again.
- Keep verticals vertical. Window frames, door edges, downpipes, drain covers — all straight up and down. Tilted verticals are the single most common reason a drawing looks wrong.
- Tidy up. Erase the guide lines you no longer need and darken the shapes that matter, heaviest at the front of the picture.
Measuring Proportions Without a Ruler
Hold your pencil at arm's length with your elbow locked straight and one eye closed. Line the tip up with the top of a doorway, then slide your thumb down the pencil until it meets the bottom of the door. That distance is now one unit. Carry it around the scene: how many door-heights is the shopfront next door? How many is the whole building? How wide is the pavement compared with a person's shoulders?
Two things are worth remembering. First, objects don't shrink in even steps as they recede. The nearest building to you loses apparent height fastest; once you're several shops back, neighbouring buildings look almost identical in size. Second, because your eye level is the horizon line, you look up at anything above it and down at anything below. Awnings, hanging signs and window heads show their undersides; kerbs, bollards and low walls show their tops. Get that right and the drawing gains depth immediately.
Details That Say British High Street
Perspective builds the bones. These details give it a postcode:
- Georgian sash windows with white frames, and the occasional bay window over a shopfront
- Red brick beside painted render, often on the same terrace
- Hanging signs on wrought-iron brackets, and A-boards chalked with the day's special
- Striped awnings and shop blinds, half rolled
- Bollards, a litter bin, a bench, a bus shelter with a timetable
- Double yellow lines, a painted crossing, and that faded white zig-zag
- Chimney pots along the roofline, and a plane tree clipped back hard in winter
Mistakes to Watch For
- Two vanishing points at once. Keep shopfronts flat and facing you. If a front starts angling, you've slipped into two-point.
- Uniform line weight. Thin, faint lines at the far end; heavier lines near you. That alone reads as distance.
- Equal detail everywhere. Put the texture in the front third of the drawing and let the rest simplify.
- Drawing the whole street at once. Finish the nearest two buildings properly before you start the fourth.
Practise This Week
Find a spot on the pavement with a clear view straight down your local high street — not the kerb edge, and not where you'll be in anyone's way. Sketch the same view three times in fifteen-minute sittings: once with a ruler and erased guides, once freehand, once in pen with no erasing at all. The third one will be looser and probably better.
If drawing on location feels intimidating, photograph the street first, print it, and lay tracing paper over the top. Rule a line along the kerb and another along the rooflines; where they meet is the vanishing point you were standing at. Repeat until you can find it by eye in a couple of seconds. Then go back out and draw it for real — same street, same time of day, next week. Compare the two sketches and you'll see exactly what you've learned.
Photo: Lens_and_Light / Pixabay